The Willow Square Crochet Pattern is a popular and versatile design, ideal for crafting beautiful blankets, pillow covers, and home decor items․ Its intricate yet beginner-friendly stitches make it a favorite among crocheters of all skill levels, offering a creative way to bring charm and elegance to any space with its delicate willow-inspired motif․
1․1 Overview of the Willow Square Design
The Willow Square Crochet Pattern features a charming and delicate design inspired by the natural beauty of willow trees․ It incorporates intricate stitch patterns that create a soft, flowing texture, perfect for crafting blankets, pillow covers, and other home decor items․ The design is versatile, allowing crocheters to customize sizes and colors while maintaining its timeless appeal․ Its popularity stems from its balance of simplicity and elegance, making it accessible to crafters of all skill levels․
1․2 Popularity of the Willow Square Pattern
The Willow Square Crochet Pattern has gained significant popularity due to its elegant and versatile design․ Its intricate yet manageable stitches appeal to crocheters of all levels, making it a favorite for both personal projects and gifts․ The pattern’s adaptability to various yarn types and colors allows for endless creativity, while its timeless aesthetic ensures that finished projects remain cherished for years․ This has made it a staple in many crafting communities and a highly sought-after design among crochet enthusiasts․
1․3 Key Features of the Willow Square
The Willow Square Crochet Pattern stands out for its delicate, willow-inspired design, offering a perfect blend of elegance and simplicity․ Its reversible stitch pattern creates a beautiful texture on both sides, while the motif’s adaptability allows it to complement various projects, from blankets to pillow covers․ The pattern’s versatility ensures it suits both modern and traditional decor, making it a timeless choice for crafters seeking a visually appealing yet easy-to-master design․
Materials and Tools Required
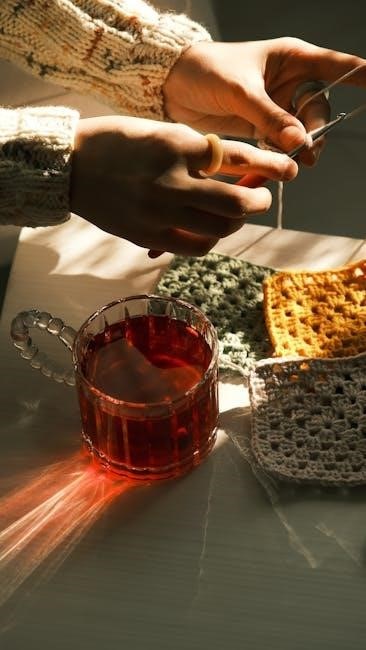
To create the Willow Square, you’ll need medium-weight yarn, a size J (6․0mm) crochet hook, scissors, a tapestry needle, and stitch markers․ Optional tools include a measuring tape and yarn needle for weaving ends․
2․1 Recommended Yarn and Hook Sizes
For the Willow Square Crochet Pattern, medium-weight yarns like acrylic or cotton blends are ideal for durability and softness․ A size 4mm (US 6) crochet hook is typically recommended․ Using a consistent yarn weight ensures even stitching and the desired texture․ Popular yarn choices include Bernat Super Value or Lion Brand Vanna’s Choice․ Always swatch before starting to ensure proper tension and drape for your finished project․
- Recommended yarn: Medium-weight acrylic or cotton blend․
- Hook size: 4mm (US 6)․
- Swatch to confirm gauge for best results․
2․2 Additional Tools for Crochet
Besides yarn and a hook, essential tools include a tapestry needle for weaving ends, scissors for cutting yarn, and stitch markers to track patterns․ A measuring tape ensures accurate sizing, while a crochet bag keeps supplies organized․ Optional tools like stitch dictionaries or notions organizers can enhance your crafting experience, ensuring efficiency and precision in completing the Willow Square Crochet Pattern․
- Tapestry needle for weaving in ends․
- Scissors for cutting yarn․
- Stitch markers to keep track of patterns․
- Measuring tape for accurate sizing․
- Crochet bag or notions organizer;
Step-by-Step Instructions
Begin with a foundation chain, then work the initial stitches to form the square’s base․ Follow the pattern’s stitch sequence to create the Willow Square’s intricate design․
- Start with a foundation chain․
- Work the initial stitches to form the base․
- Follow the stitch pattern for the Willow Square design․
3․1 Foundation Chain and Initial Stitches
The Willow Square Crochet Pattern begins with a foundation chain, which sets the stage for the entire project․ Start by creating a slip knot on your hook, then chain the required number of stitches as specified in the pattern․ The initial stitches are worked directly into the foundation chain, forming the base for the first round of the square․ Ensure the chain is not too tight or too loose, as this will affect the overall shape and drape of the finished piece․ Maintaining even tension is key for a professional finish․ Once the foundation is complete, the first round of stitches will seamlessly connect back to the starting point, creating a cohesive circle․ This step is crucial for achieving the signature willow-inspired design․ Always refer to the pattern PDF for specific yarn and hook recommendations to ensure accuracy․
3․2 Stitch Patterns for the Willow Square
The Willow Square Crochet Pattern features a variety of stitches that create a delicate, willow-inspired texture․ The design incorporates a mix of single crochet, double crochet, and shell stitches, offering a balanced combination of simplicity and elegance․ The pattern guides you through each stitch sequence, ensuring a smooth transition between rounds․ The PDF provides clear instructions, making it easy to follow along and achieve the desired intricate design․ Maintaining consistent stitch tension is essential to ensure the square lies flat and looks professional․ The stitch patterns are thoughtfully arranged to create a visually appealing and cohesive design, perfect for both beginners and experienced crocheters alike․
3․3 Border and Edging Techniques
The Willow Square Crochet Pattern includes detailed instructions for adding a beautiful border and edging to your finished square․ These techniques enhance the overall appearance, creating a polished and professional finish․ The PDF guide provides step-by-step instructions for various border styles, from simple single crochet edges to more intricate shell or scallop patterns․ Properly securing the last stitch and maintaining even tension ensure a clean, polished look․ These techniques are easy to follow, making the finishing process enjoyable and rewarding․
Common Mistakes and Troubleshooting
Common errors include uneven stitches and misaligned rows․ Ensure accurate stitch counting and maintain consistent tension to avoid these issues, fostering a neat, professional finish․
4․1 Avoiding Uneven Stitches
To ensure even stitches in the Willow Square pattern, maintain consistent tension while crocheting․ Tight stitches can cause puckering, while loose ones may lead to a sloppy fabric․ Regularly count stitches to avoid missing or adding extra ones, which can misalign rows․ Use a stitch marker to track your place and consider blocking the finished piece to even out any inconsistencies․ Proper tension and accurate counting are key to achieving a polished, professional finish․
4․2 Fixing Misaligned Rows
Misaligned rows in the Willow Square pattern can be corrected by counting stitches and ensuring each row begins and ends with the correct number․ Use a stitch marker to track your place․ If a row is shorter, add the missing stitches․ If too long, gently unravel and rework․ Ensure consistent tension to maintain alignment․ Regularly checking your work helps prevent misalignment, allowing the pattern to flow seamlessly and maintaining the square’s symmetry and visual appeal․

Customization Ideas
Customize the Willow Square with vibrant color schemes, unique yarn textures, or decorative embellishments․ Experiment with seasonal themes or personal touches to make each piece truly unique․
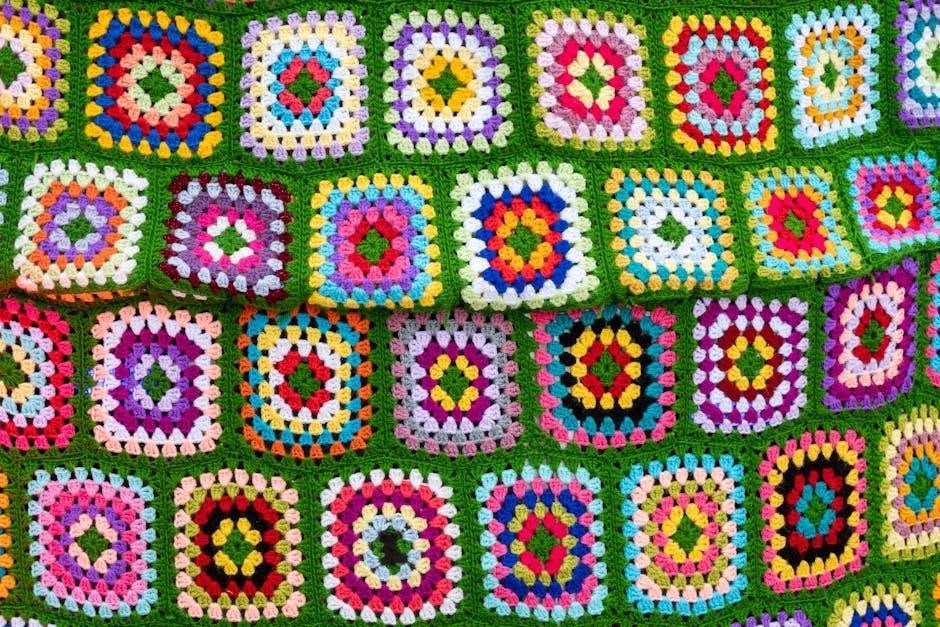
5․1 Color Variations for Different Looks
Explore the versatility of the Willow Square pattern by experimenting with color variations․ Bold and bright hues create a modern aesthetic, while soft pastels evoke a traditional charm․ Seasonal colors like red and green can transform the square into a festive piece․ Gradient or ombre effects add depth, and neutral tones offer a timeless look․ Choose colors that reflect your personal style or match your home decor for a unique, personalized finish․ This pattern adapts beautifully to any color palette, making it endlessly customizable for diverse projects and preferences․
5․2 Adding Embellishments
Elevate your Willow Square project by incorporating embellishments like buttons, beads, or appliques․ These additions can add texture, visual interest, and a personal touch․ Consider placing small decorative elements along the edges or within the stitches for a unique flair․ Embellishments can also highlight specific design elements, making the pattern stand out․ Whether subtle or bold, they allow you to customize the square to suit your style, creating a one-of-a-kind piece that reflects your creativity and personal aesthetic perfectly․
Finishing Touches
Blocking enhances the square’s shape and stitch definition, while sewing multiple squares together creates cohesive, larger projects like blankets or pillow covers, ensuring a polished finish․
6․1 Blocking the Finished Square
Blocking is an essential step to enhance the appearance of your Willow Square․ Wet the square, stretch it onto a towel, and secure with pins to shape․ Allow it to air dry completely․ This process evens out stitches, softens the fabric, and gives a professional finish․ Use measuring tape to ensure accuracy․ Blocking is particularly important for projects like blankets, where multiple squares are sewn together․ It ensures uniformity and a polished look․
6․2 Sewing Multiple Squares Together
Sewing multiple Willow Squares together allows you to create larger projects like blankets or pillow covers․ Start by weaving in all yarn tails․ Block each square to ensure even sizing․ Use a tapestry needle and matching yarn to sew squares together with an invisible stitch․ Align patterns carefully to maintain the design flow․ Gently pull the yarn to secure, but avoid puckering․ This step transforms individual squares into a cohesive, stunning piece․
Where to Find the Willow Square Crochet Pattern PDF
The Willow Square Crochet Pattern PDF is widely available on popular crafting websites like Etsy, Ravelry, and Moogly, offering easy downloads for both free and paid versions․
7․1 Popular Websites for Crochet Patterns
Popular websites for crochet patterns include Moogly, The Crochet Crowd, and Crochet Geek․ These platforms offer a wide variety of patterns, including the Willow Square design․ Many sites provide free and paid options, allowing crocheters to choose based on their preferences․ The Willow Square Crochet Pattern PDF is widely available on these sites, making it easy for crafters to access and download the instructions for their projects․
7․2 Free vs․ Paid Patterns
When searching for the Willow Square Crochet Pattern PDF, you’ll find both free and paid options․ Free patterns are great for beginners or those on a budget, offering a cost-effective way to start crocheting․ Paid patterns, however, often provide more detailed instructions, exclusive designs, and high-quality visuals, making them a worthwhile investment for serious crafters seeking precision and creativity․
Time and Skill Level Required
The Willow Square Crochet Pattern is ideal for intermediate crocheters, requiring approximately 3-5 hours to complete․ It’s a great project for skill enhancement and creativity․
8․1 Estimated Completion Time
The Willow Square Crochet Pattern can be completed in a few hours for a single square, depending on skill level and complexity․ Beginners may take 2-4 hours, while experienced crocheters can finish it in about an hour․ For a full blanket with multiple squares, expect several days to a week, depending on the number of squares and the time devoted to crocheting daily․ This pattern is ideal for quick projects or gifts․
8․2 Skill Level for the Pattern
The Willow Square Crochet Pattern is suitable for crafters of all skill levels, from beginners to advanced; While it involves basic stitches and repetitive patterns, beginners may need to practice foundational techniques like turning chains and maintaining stitch consistency․ Intermediate crocheters will find it a refreshing project, while experienced crafters can enjoy its meditative rhythm․ Patience and attention to detail are key for achieving a polished result, regardless of skill level․
Tips for Sharing Your Finished Project
Share your Willow Square creation by posting high-quality photos online․ Use natural lighting and good angles to showcase details․ Include hashtags like #WillowSquareCrochet for visibility and tag the designer․
9․1 Photographing Your Willow Square
Photographing your Willow Square requires attention to detail․ Use natural light for vibrant colors and a plain background to avoid distractions․ Experiment with angles to highlight the intricate stitches and texture․ Styling props like flowers or small decorative items can enhance the visual appeal․ Ensure your camera is steady, and consider using a tripod for sharp images․ Capture high-quality photos to showcase your finished project effectively, making it perfect for sharing or creating a portfolio․
9․2 Sharing on Social Media
Sharing your Willow Square Crochet Pattern project on social media is a great way to showcase your creativity․ Use platforms like Instagram, Facebook, or Pinterest to post high-quality photos of your finished work․ Add captions detailing the pattern, yarn used, and personal touches․ Utilize hashtags like #WillowSquareCrochet or #CrochetCommunity to connect with fellow crafters․ Engage with followers by sharing tips or asking for feedback, turning your post into a meaningful conversation starter․
The Willow Square Crochet Pattern PDF offers a versatile and rewarding project, perfect for crocheters seeking a beautiful, timeless design to create lasting handmade treasures․
10․1 Final Thoughts on the Willow Square Pattern
The Willow Square Crochet Pattern offers a rewarding and versatile crafting experience, making it a timeless choice for crocheters․ Its delicate design and customizable options allow for endless creativity, ensuring each project is truly unique․ Whether for personal use or as a thoughtful gift, the Willow Square pattern delivers a beautiful and lasting result, perfect for beginners and experienced crafters alike to enjoy and share․